

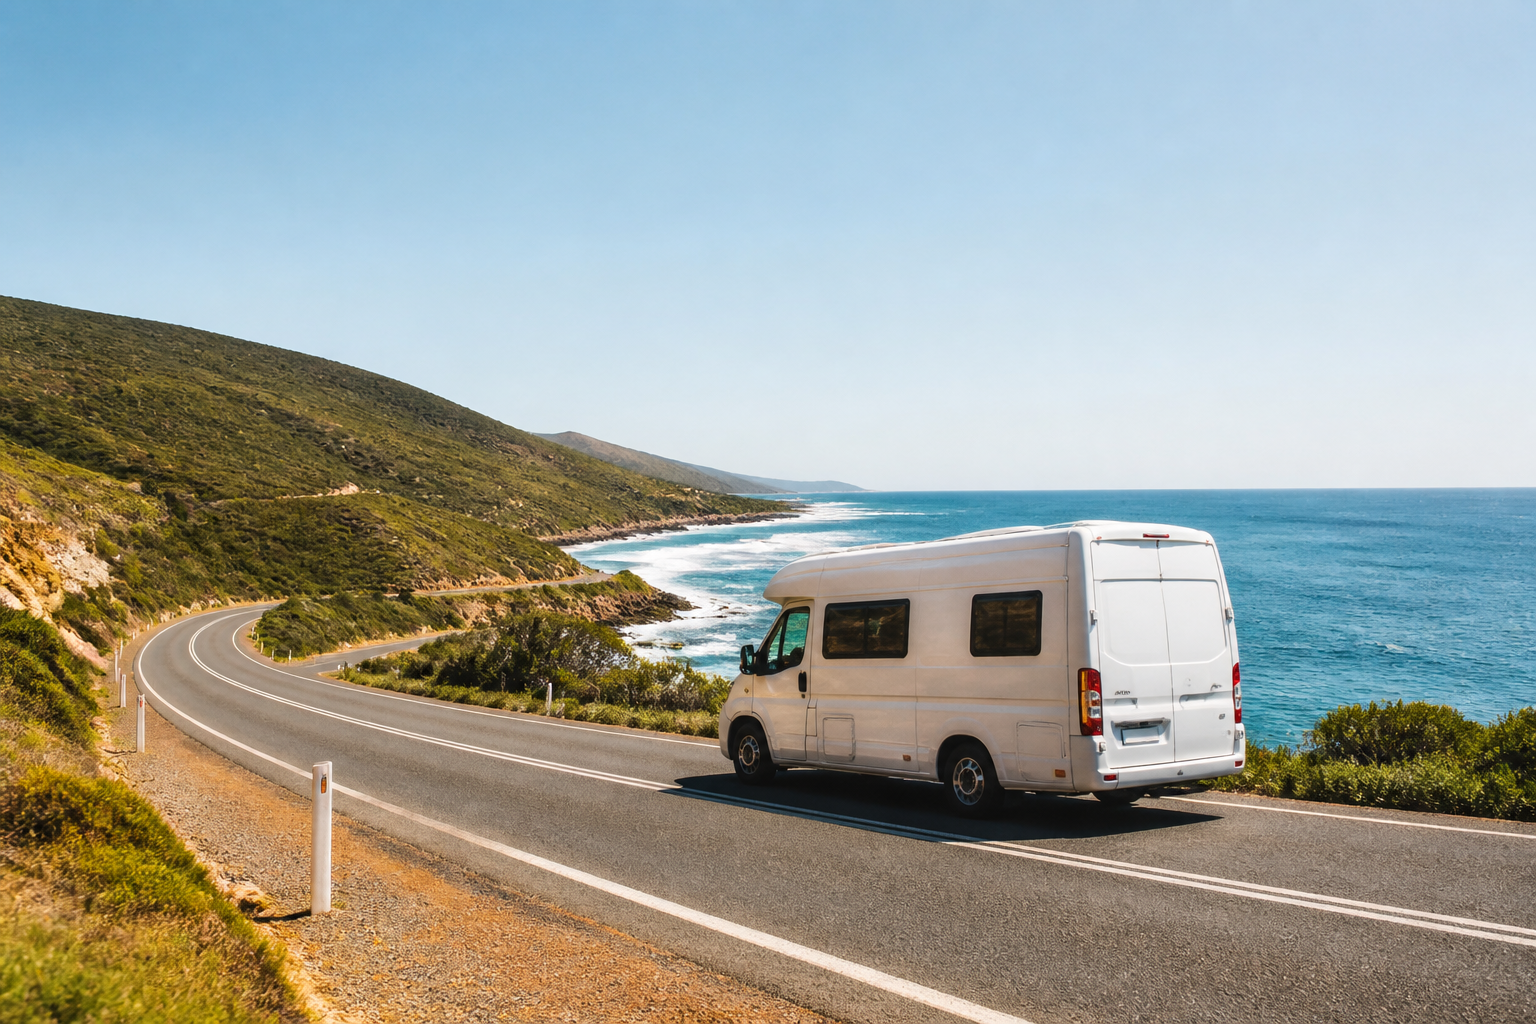
Imagine waking up to an empty beach at sunrise, making coffee in your own kitchen, and driving on whenever you feel like it — no checkout time, no taxi to the airport, no hotel bill. That is exactly what your Australia RV road trip offers, and it is one of the most cost-effective ways to experience a country where the distances between highlights are themselves part of the adventure.
By combining your transport and accommodation into one vehicle, you cut two of travel’s biggest costs at a stroke. Cook your own meals, pull into a free bush camp or a low-cost national park site, and you can reach remote gorges, empty beaches and red-desert plains that most tourists never see. The flexibility to linger where you love and move on when you are ready is something no hotel booking can replicate.
This guide walks you through every practical step: choosing the right camper for your group and budget, picking a realistic route matched to your time and the season, building a workable daily budget, gearing up for self-sufficient travel with locally sourced parts and supplies, and following a simple timeline so you can go from idea to open road with confidence.
The Ultimate Road Trip in Australia: How to Plan an Unforgettable RV Adventure on a Budget
Choosing the right RV or camper for comfort, cost and self-sufficiency
The first decision is whether to hire or buy. For trips under two to three months, hiring almost always makes more sense, because a reputable hire company delivers a roadworthy, insured vehicle with roadside assistance included and you simply drop it off at the end. Buying can pay off for longer trips of several months, because you can spread costs over time and potentially resell; but it comes with registration paperwork, insurance complexity and the stress of finding a buyer before you leave the country.
Once you have settled that question, the type of vehicle matters. Small campervans are cheaper to hire and easier to park in coastal towns, but their facilities are basic: a bed, a small gas cooker and limited storage. Larger motorhomes offer a proper indoor kitchen, bathroom and more comfortable sleeping, at the cost of higher daily rates and greater fuel consumption. A 4WD camper is only worth the premium if you specifically plan to drive remote, unsealed tracks like parts of the Kimberley; for every sealed-road route in Australia, a standard 2WD is perfectly adequate and noticeably cheaper to run.
For self-sufficiency and genuine budget savings, a few features are worth prioritising when you compare options: a decent house battery and ideally a solar panel or two so you can run the fridge and lights without needing powered sites every night, a water tank large enough for at least two to three days between refills, a compressor fridge rather than just an esky, an awning for shade, and practical storage so food, tools and spare parts stay accessible rather than buried. The simple framework is to match vehicle size to your group’s real comfort needs, favour reliability over newness, and weigh up how often you plan to use free or national park camping versus full-facility holiday parks. The more off-grid nights you want, the more the battery and solar setup earns its keep.
International visitors should confirm before booking that their home licence is accepted in the relevant Australian states, understand exactly what the hire company’s insurance covers and what excess applies, and check whether unsealed roads void the agreement. Some standard hire vehicles are restricted to sealed roads only, which matters more than it might seem once you are actually out there.
Iconic Australian campervan routes and how to pick the right one
Australia’s major routes feel completely different in distance, cost, climate and character, so start by deciding how much time you have, what kind of scenery you want, and what season you will be travelling in. Those three filters will narrow the field quickly.
The East Coast from Melbourne or Sydney up to Cairns is the classic first-timer’s route, and for good reason. Starting from Melbourne, the Great Ocean Road delivers roughly 240 km of sea-cliff scenery, the Twelve Apostles and the forests of Great Otway National Park before you even cross the Queensland border. Continue north through Byron Bay, Fraser Island (K’gari), the Whitsundays, the Great Barrier Reef and the Daintree Rainforest, and you have a route that can fill anywhere from two weeks (Sydney to Noosa) to six or eight weeks for the full Melbourne to Cairns run. Infrastructure is excellent and campgrounds are plentiful, though popular coastal pockets become pricey and crowded in school holidays.
If you only have three to five days and are based in Melbourne, the Great Ocean Road as a standalone loop is one of the most rewarding short itineraries in the country. Sealed roads, plenty of powered sites and iconic stops like Lorne, Apollo Bay and Loch Ard Gorge make it ideal for first-timers.
The Red Centre loop from Alice Springs is a different proposition entirely. A circuit of more than 1,000 kilometres taking in the West MacDonnell Ranges, Kings Canyon, Uluru and Kata Tjuta typically needs seven to ten days to do it justice. Distances between fuel and water are long, conditions are hot and dry for much of the year, and the key campgrounds around Uluru book out early. Travel between May and September for the cooler, drier months, stick to permitted roads, and check hire company restrictions on unsealed sections.
Western Australia offers two distinct flavours. The South West Edge from Perth to Esperance via Margaret River takes in wine country, ancient karri forests and wild beaches on mostly sealed roads, with good facilities throughout; October to March is the ideal window. The Coral Coast from Perth north to Exmouth, roughly 1,250 kilometres, passes the Pinnacles Desert, Shark Bay, Monkey Mia and Ningaloo Reef, so plan fuel stops carefully because gaps between service stations are long. Both routes need at least ten to fourteen days to do them properly, and April to October is the better travel window.
Tasmania rewards travellers who appreciate compact distances and cooler air. A two to three week loop from Hobart can take in Freycinet National Park and Wineglass Bay, the Bay of Fires, Cradle Mountain and the rugged north-west, with short daily drives and real time to linger. Factor in the ferry crossing from Melbourne or flights if you are bringing a hire vehicle, as these add a meaningful chunk to the budget. November to April offers the most comfortable weather.
For timing more broadly: the Top End, Red Centre and most of Western Australia are best during the dry season from roughly May to September, though shoulder months either side often bring lower hire rates and fewer crowds. Southern coasts and Tasmania are most comfortable from late spring through early autumn. Avoiding the main school holiday windows, particularly Christmas and Easter, can make a noticeable difference to both campground availability and hire costs.
The practical way to choose is to pick a region based on how much time you have and where flights are affordable, confirm it suits the season you are travelling in, then sketch a loop with driving days of no more than three to five hours. Build in at least two nights at major highlights rather than rushing through on one-nighters; that is where the trip actually happens.
Budgeting smart: fuel, camping, food and where to save or splurge
An Australian RV trip has five main cost categories: the vehicle itself (hire fees or ownership costs), fuel, camping fees, food and groceries, and park passes and paid experiences. Getting a realistic figure in each category before you leave is the difference between a trip that stays enjoyable and one that causes constant anxiety.
Fuel is often the largest ongoing cost, and Australia’s distances make it significant. A moderately sized, fuel-efficient campervan will cost noticeably less to run than a large motorhome over thousands of kilometres. Use a fuel-price comparison app such as Fuel Map Australia to find cheaper bowsers, fill up in larger towns rather than remote roadhouses where prices are routinely higher, and plan your route to avoid unnecessary backtracking.
Camping is where smart travellers find the biggest savings. The options run from free or donation-based roadside camps and basic national park campgrounds through to full-facility holiday parks at 30 to 60 dollars per night. There are around 700 national parks on mainland Australia, and many offer overnight sites ranging from free to roughly 20 dollars per adult. A practical rhythm is to mix several nights of low-cost or free camping with the occasional stay at a powered holiday park for laundry, long showers and a battery top-up. Apps like WikiCamps Australia and CamperMate are useful for locating legal free camps, checking reviews and confirming local rules. Pay attention to signage, because rangers do check and fines are real.
National park passes are worth looking into if you plan to visit several fee-charging parks. As a reference, the NSW Annual Parks Pass costs around 190 dollars, a WA Parks Pass runs 50 to 70 dollars, and entry to Uluru-Kata Tjuta National Park is 38 dollars per adult for three days. A multi-day or annual pass often works out cheaper than paying per visit, so calculate both before you arrive.
Food costs drop dramatically if you cook most meals in the camper. Shop at supermarkets in regional centres, stock the fridge thoroughly before remote stretches, and make use of the free public barbecues available at campgrounds and rest areas around the country. A daily food budget per person is genuinely manageable if you treat café visits as occasional treats rather than the norm.
That said, a few splurges are genuinely worth it. A reef snorkelling trip at Ningaloo or the Great Barrier Reef, a guided cultural tour with Traditional Owners at Uluru, or a scenic flight over the Bungle Bungles are experiences that no amount of budget camping can replicate. Easy cuts include skipping daily takeaway coffees, choosing unpowered sites when you do not need hookups, and prioritising free activities like walks, lookouts and swimming holes.
To build your daily budget, start with the per-day vehicle cost, add a realistic fuel figure based on planned kilometres and the vehicle’s consumption, and layer in an average camping spend and a food allowance. Always include an emergency buffer of at least ten to fifteen percent for unexpected repairs, a last-minute route change, or a campsite that turns out to be full.

Budgeting smart: fuel, camping, food and where to save or splurge
Preparing your rig: self-sufficient gear, spares and where to stock up
Self-sufficiency is really about freedom of choice. When you have enough water, power and basic repair gear on board, you can say yes to a remote gorge camp or a free beach site instead of being forced back to a holiday park every night, and that is worth planning for before you leave.
Water is the most critical resource, especially in warmer regions. A reasonable planning figure is at least five to ten litres per person per day for drinking, cooking and washing up, and more in hot outback conditions. Check your tank’s actual capacity, carry additional jerry cans if you plan long stretches between taps, and refill whenever camping apps show a public water point nearby. Do not assume water will be available in remote areas, because it often is not.
Power management is simpler than it sounds. Most campervans have a house battery that charges while you drive, and adding one or two solar panels dramatically extends your ability to run the fridge, charge devices and use LED lighting without plugging in. Switch to LED lights if the vehicle does not already have them, avoid running high-draw appliances like hairdryers from the house battery, and charge phones and cameras while driving rather than drawing on stored power at camp.
Safety and comfort gear for the average traveller should include a well-stocked first-aid kit, a fire extinguisher, head torches with spare batteries, quality sun protection, warm layers even for routes you expect to be warm (desert nights drop sharply), insect repellent, and a physical map or downloaded offline maps for when signal disappears. A personal locator beacon or satellite communicator is worth hiring or buying if you plan any genuinely remote stretches.
For spares, focus on what a non-mechanic can actually use on the road. At minimum, carry at least one full-size spare tyre and know how to change it. Add engine oil and coolant for top-ups, a set of fuses, spare bulbs, gaffer tape and cable ties. A simple visual check every few days covering tyre pressures and condition, fluid levels, lights and any new rattles or leaks will catch small problems early, and catching them early almost always costs less than diagnosing them after something fails.
Stocking up on RV-specific parts and accessories before you leave is far easier and cheaper than hunting for them in small regional towns mid-trip. RV Parts Express is an Australian-based supplier where you can order items like water hoses and filters, levelling ramps, replacement cabinet latches, portable solar panels and camping furniture ahead of departure, so your setup is working properly from day one and you carry a few critical spares without the last-minute scramble.
Finally, think through waste and hygiene before you go. Know how you will manage grey water (never dump it near watercourses), where you can legally empty a cassette toilet if your vehicle has one, and pack eco-friendly cleaning products. Bush camps and free sites stay open for everyone only as long as travellers leave them in good condition.
On-the-road essentials for a smooth campervan adventure
Australia is vast, and the most common mistake travellers make is underestimating how long driving days feel by the third or fourth hour. Plan conservative days of three to five hours of driving at most, take a proper break at least every two hours, and avoid driving at dawn, dusk or after dark in rural areas. Kangaroos and livestock are most active around those times and frequently gather at roadsides, and collisions are both common and serious. If an animal does appear in your path and you cannot stop in time, brake firmly and hold your line rather than swerving, which risks losing control.
In outback and remote areas, the basic rules are to top up fuel and water at every opportunity even if you are not empty, let a trusted person know your intended route and expected arrival times, and check road conditions and weather before committing to any unsealed or flood-prone section. Some tracks that are perfectly passable in the dry season become impassable or genuinely dangerous after rain, so stick to sealed or permitted roads unless you have a 4WD and have confirmed your hire agreement allows it.
Connectivity can be patchy even on major highways, so use a combination of navigation tools. Download offline maps before you leave (apps like Maps.Me work without signal) and pair them with a GPS unit or phone-based navigation as a backup. For genuinely remote country, hiring a satellite communicator or carrying a personal locator beacon provides real reassurance and costs very little relative to the peace of mind it offers. A Telstra SIM card gives the best rural coverage of any Australian network.
A simple morning routine makes mechanical problems much less likely to catch you out. Before driving each day, do a quick visual check: look at tyre condition and pressure, check under the vehicle for any overnight leaks, make sure gas and water connections are secure, and test the lights. Pay attention to anything that sounds or feels different while driving, because an unusual noise or a change in steering rarely fixes itself and usually costs more the longer it is ignored.
Responsible camping keeps sites open and earns goodwill in the communities you pass through. Arrive before dark so you have time to choose a sensible, permitted spot. Pack out every piece of rubbish, never dump grey water near streams, keep generator use to a minimum and respect quiet hours. Treat Aboriginal cultural sites with the same care you would a museum; many are protected by law, and local communities ask that visitors follow signage and guidance on what can and cannot be accessed or photographed.
On road rules, the essentials for visitors are: drive on the left, everyone wears a seatbelt at all times, handheld mobile phone use while driving is illegal, and give way to traffic on your right at roundabouts. Speed limits are clearly signposted and enforced. Check state-specific requirements, including fire bans, permit requirements for certain camping areas and local restrictions, on official government websites before you set off into each new region.
Your planning timeline: from first idea to day one on the road
Good planning is not about removing spontaneity; it is about making sure the big decisions are settled so you can relax into everything else. For international visitors, start three to six months out. For Australians travelling during popular holiday periods, allow at least two months.
3 to 6 months before departure: choose your travel window and target region based on season and where flights are affordable. Set a total trip budget. Decide whether to hire or bring your own vehicle. Book your campervan early if you are travelling in peak school holiday periods, because good vehicles go quickly. Confirm your driving licence is accepted in Australia and review insurance requirements.
2 to 3 months out: lock in the core route and trip length. Pencil in must-see stops and any camps or experiences that need advance booking, since Uluru campgrounds fill well ahead of time, as do popular reef and whale shark tours. Research national park pass options for each state you plan to visit. Start a shared itinerary in a mapping app so everyone knows the plan.
4 to 6 weeks before: finalise your packing list and order any RV parts, accessories or upgrades you need, for example from RV Parts Express, so everything arrives with time to fit and test before you leave. Service your own vehicle or confirm the hire company’s maintenance schedule. Buy or refresh your first-aid kit, check your navigation apps and download offline maps for your whole route.
1 to 2 weeks before: check long-range weather forecasts and any fire or flood advisories for your route. Confirm bookings and opening hours for your first few nights. Plan your first large supermarket shop so you are not paying roadhouse prices for basics in the early days.
48 hours before leaving: do a final vehicle and gear check. Test all onboard systems, including the water pump, fridge, gas, lights and battery, while you can still address any problems. Stock the fridge and pantry with your first few days of supplies. Share your itinerary and contact details with a family member or friend who is not on the trip.
Once those steps are done, the planning work is behind you. You know your route, your budget is mapped, and your vehicle is ready. What remains is the trip itself: the mornings when you pull back the curtain on somewhere extraordinary and decide, over coffee, which direction to drive.
